카페24
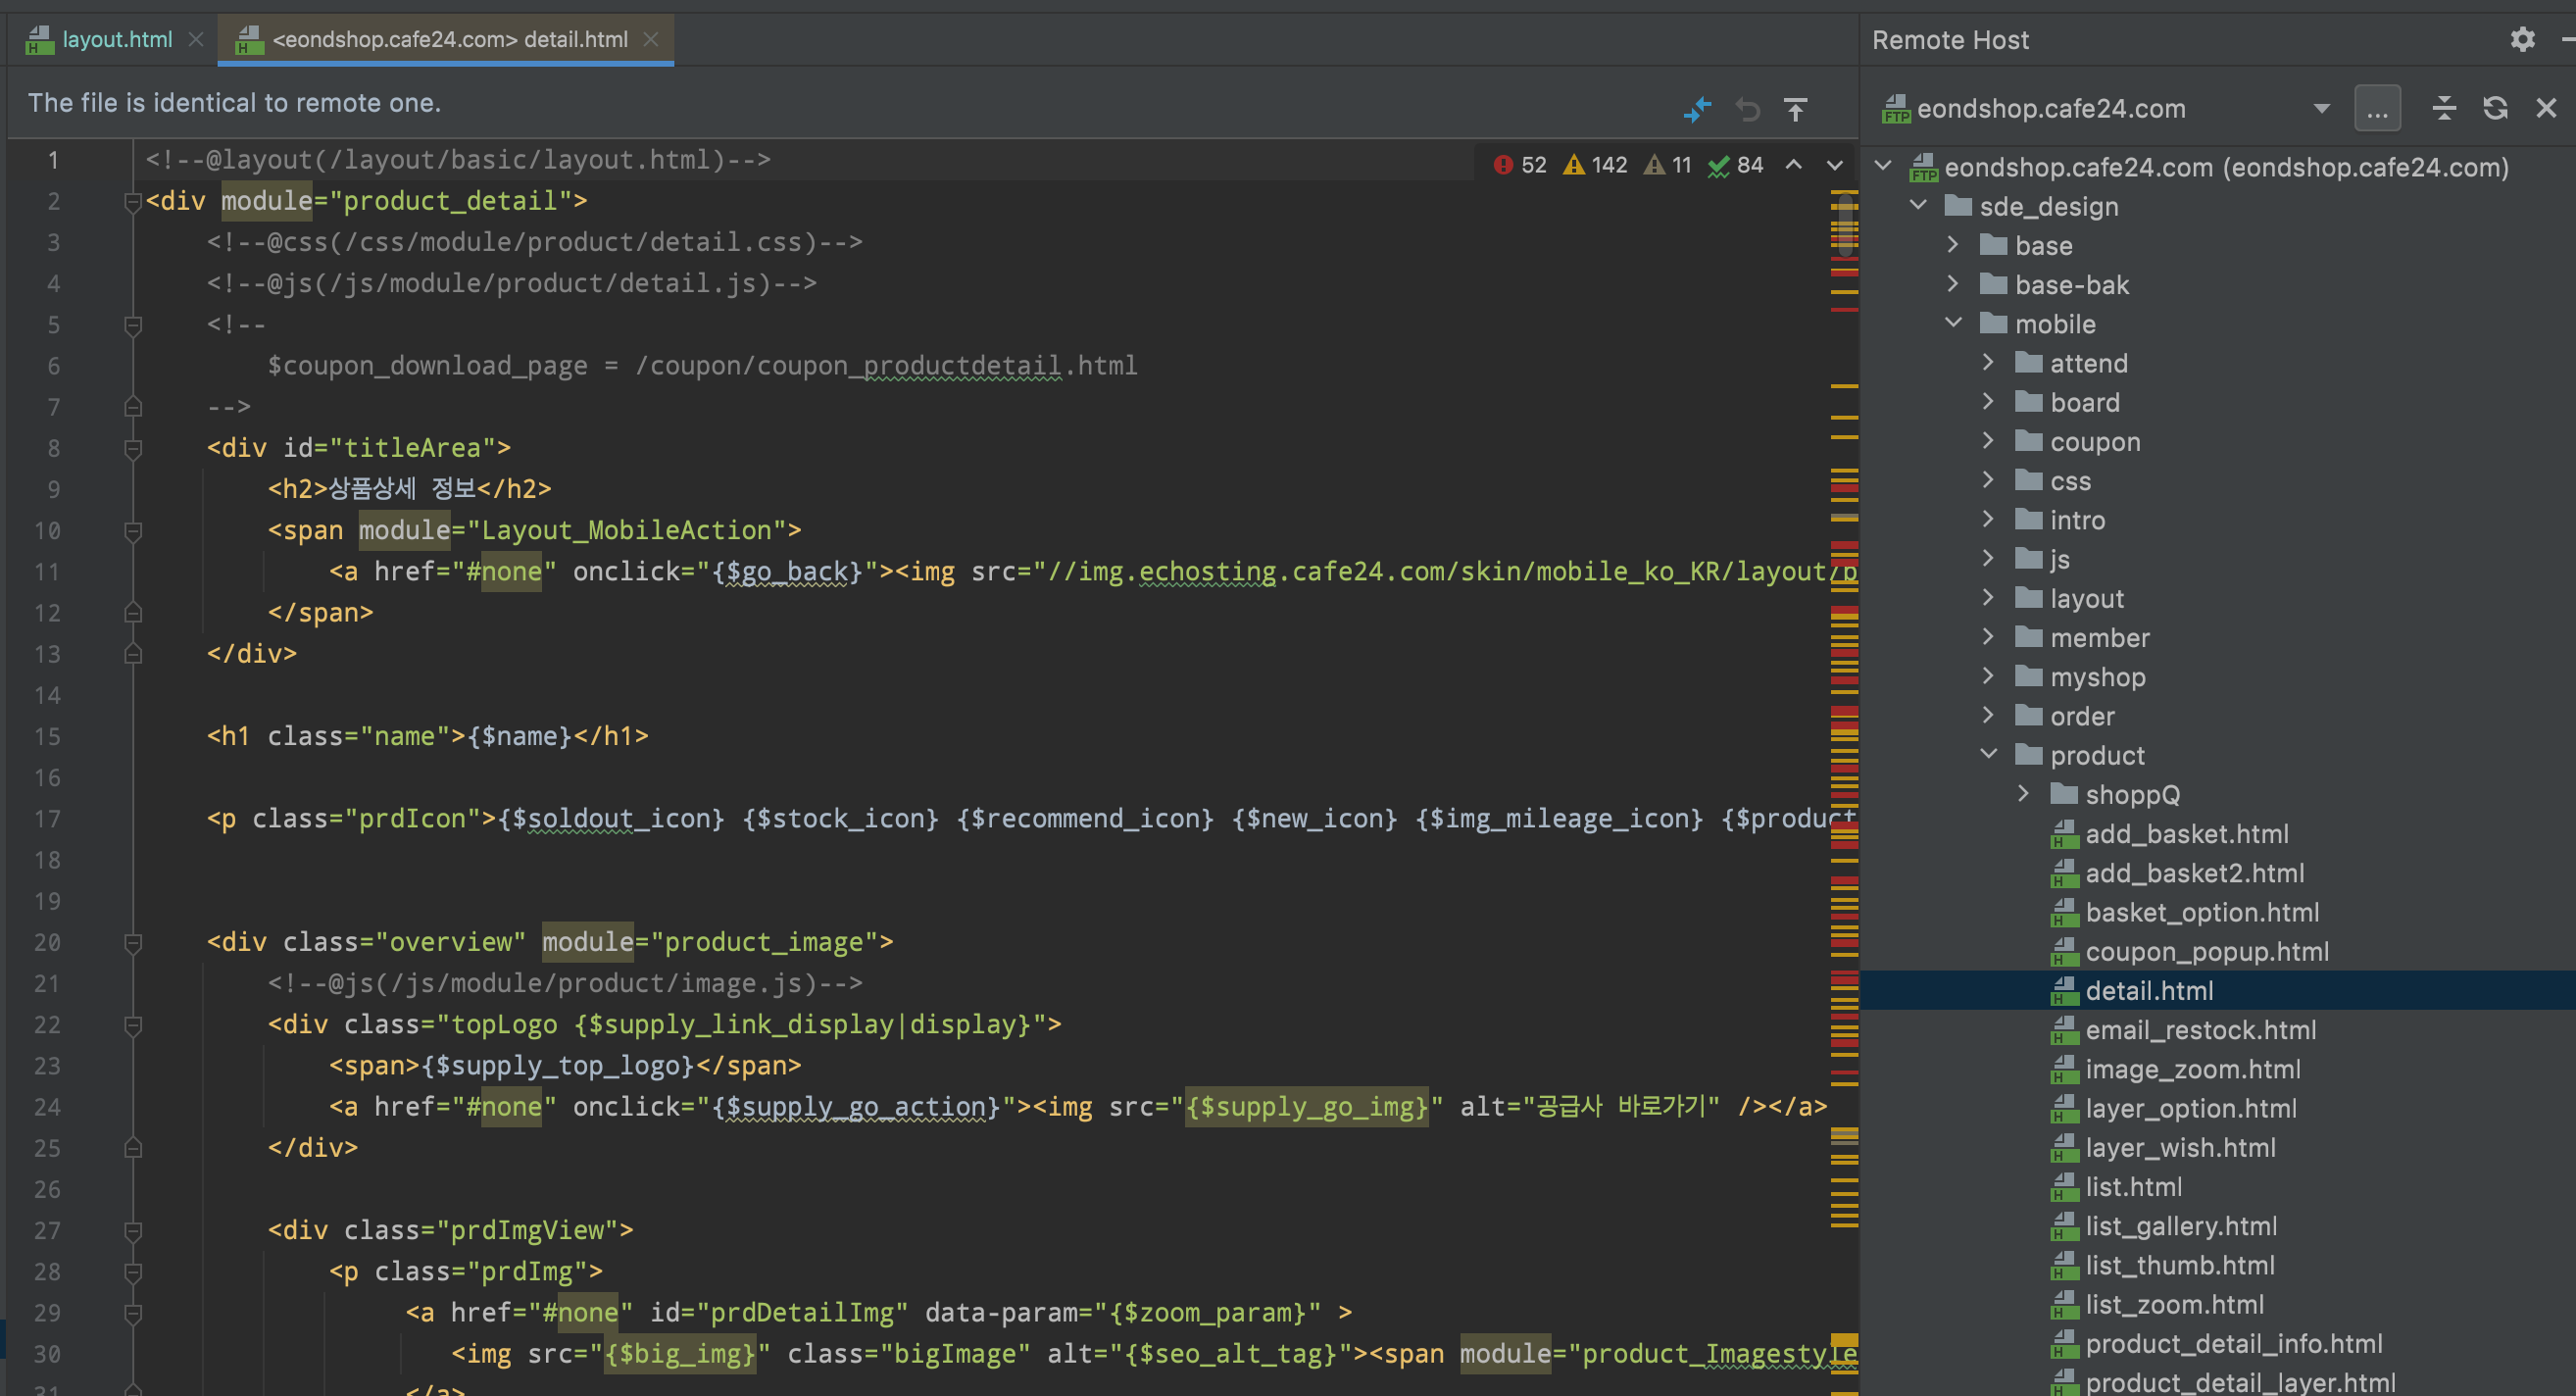
FTP 접속 후 > ftp 접속하시면 sde_design > mobile > product > detail.html
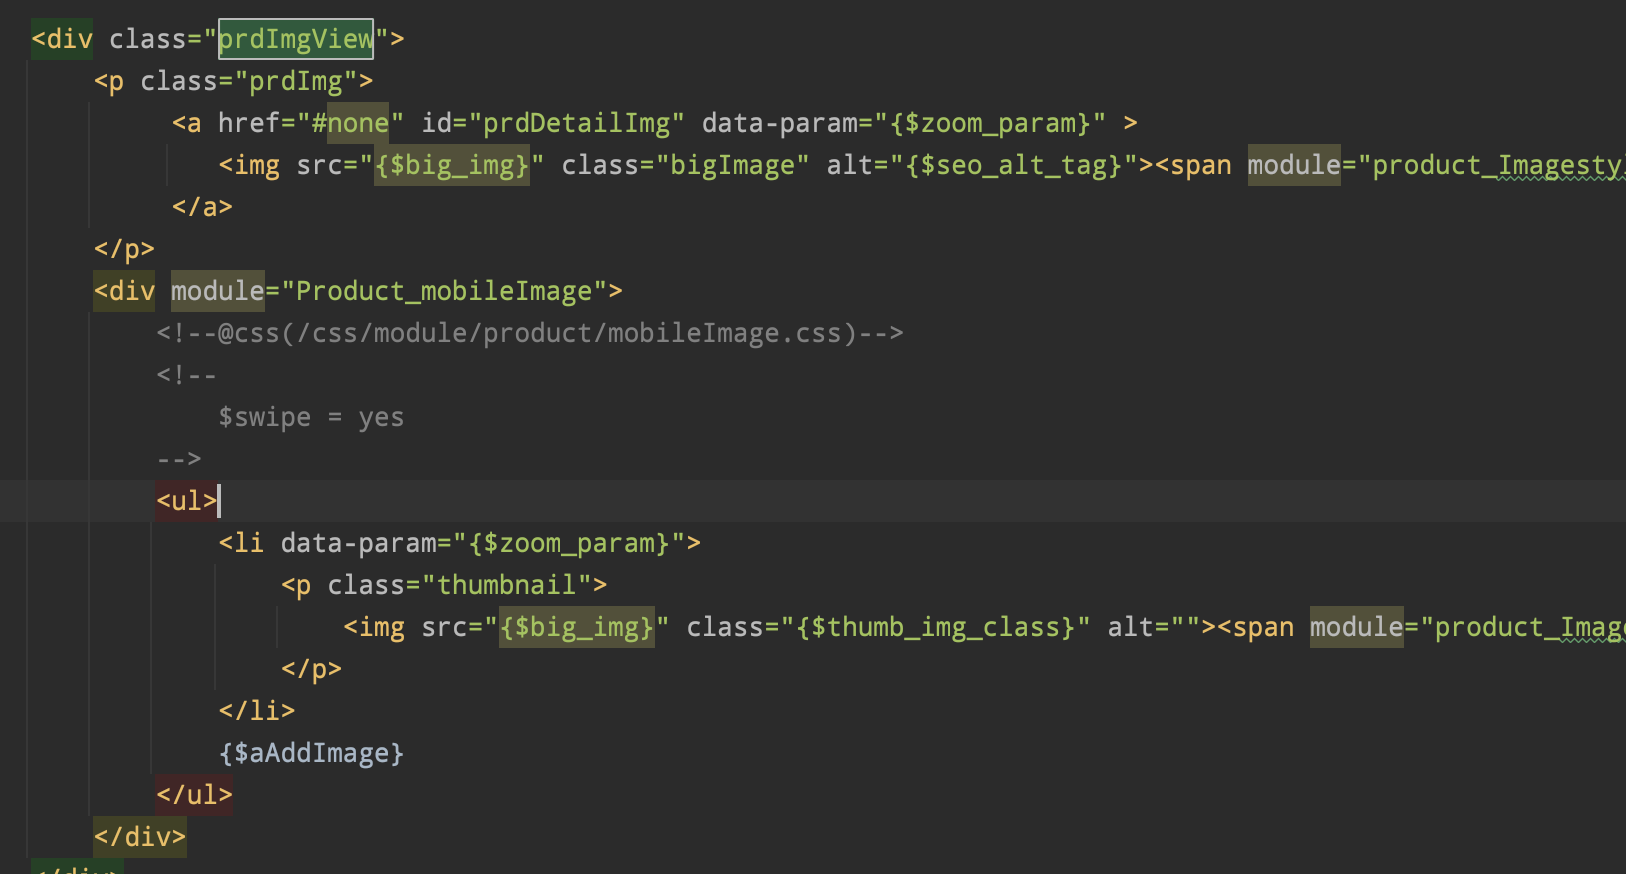
<div module="Product_mobileImage"> 이 안에서 작업하시면 되지 않나요.
<div class="listImg" module="product_addimage">
    <ul>
        <li>{$add_img}</li>
        <li>{$add_img}</li>
    </ul>
</div>
특정모듈에 종속되지는 않는 듯
<div data-custom="swiper">
    <link
            rel="stylesheet"
            href="https://unpkg.com/swiper/swiper-bundle.min.css"
    />
    <style>
      html,
      body {
        position: relative;
        height: 100%;
      }

      body {
        background: #eee;
        font-family: Helvetica Neue, Helvetica, Arial, sans-serif;
        font-size: 14px;
        color: #000;
        margin: 0;
        padding: 0;
      }

      .swiper {
        width: 100%;
        height: 100%;
      }

      .swiper-slide {
        text-align: center;
        font-size: 18px;
        background: #fff;

        /* Center slide text vertically */
        display: -webkit-box;
        display: -ms-flexbox;
        display: -webkit-flex;
        display: flex;
        -webkit-box-pack: center;
        -ms-flex-pack: center;
        -webkit-justify-content: center;
        justify-content: center;
        -webkit-box-align: center;
        -ms-flex-align: center;
        -webkit-align-items: center;
        align-items: center;
      }

      .swiper-slide img {
        display: block;
        width: 100%;
        height: 100%;
        object-fit: cover;
      }

      body {
        background: #000;
        color: #000;
      }

      .swiper {
        width: 100%;
        height: 300px;
        margin-left: auto;
        margin-right: auto;
      }

      .swiper-slide {
        background-size: cover;
        background-position: center;
      }

      .mySwiper2 {
        height: 80%;
        width: 100%;
      }

      .mySwiper {
        height: 20%;
        box-sizing: border-box;
        padding: 10px 0;
      }

      .mySwiper .swiper-slide {
        width: 25%;
        height: 100%;
        opacity: 0.4;
      }

      .mySwiper .swiper-slide-thumb-active {
        opacity: 1;
      }

      .swiper-slide img {
        display: block;
        width: 100%;
        height: 100%;
        object-fit: cover;
      }
    </style>
    <!-- Swiper -->

    <div
            style="--swiper-navigation-color: #fff; --swiper-pagination-color: #fff"
            class="swiper mySwiper2" module="product_addimage"
    >
        <div class="swiper-wrapper">
            <div class="swiper-slide">
                {$add_img}
            </div>
            <div class="swiper-slide">
                {$add_img}
            </div>
        </div>
        <div class="swiper-button-next"></div>
        <div class="swiper-button-prev"></div>
    </div>
    <div thumbsSlider="" class="swiper mySwiper">
        <div class="swiper-wrapper" module="product_addimage">
            <div class="swiper-slide">
                {$add_img}
            </div>
            <div class="swiper-slide">
                {$add_img}
            </div>
        </div>
    </div>

    <!-- Swiper JS -->
    <script src="https://unpkg.com/swiper/swiper-bundle.min.js"></script>

    <!-- Initialize Swiper -->
    <script>
        var swiper = new Swiper(".mySwiper", {
            spaceBetween: 10,
            slidesPerView: 4,
            freeMode: true,
            watchSlidesProgress: true,
        });
        var swiper2 = new Swiper(".mySwiper2", {
            spaceBetween: 10,
            navigation: {
                nextEl: ".swiper-button-next",
                prevEl: ".swiper-button-prev",
            },
            thumbs: {
                swiper: swiper,
            },
        });
    </script>
</div>
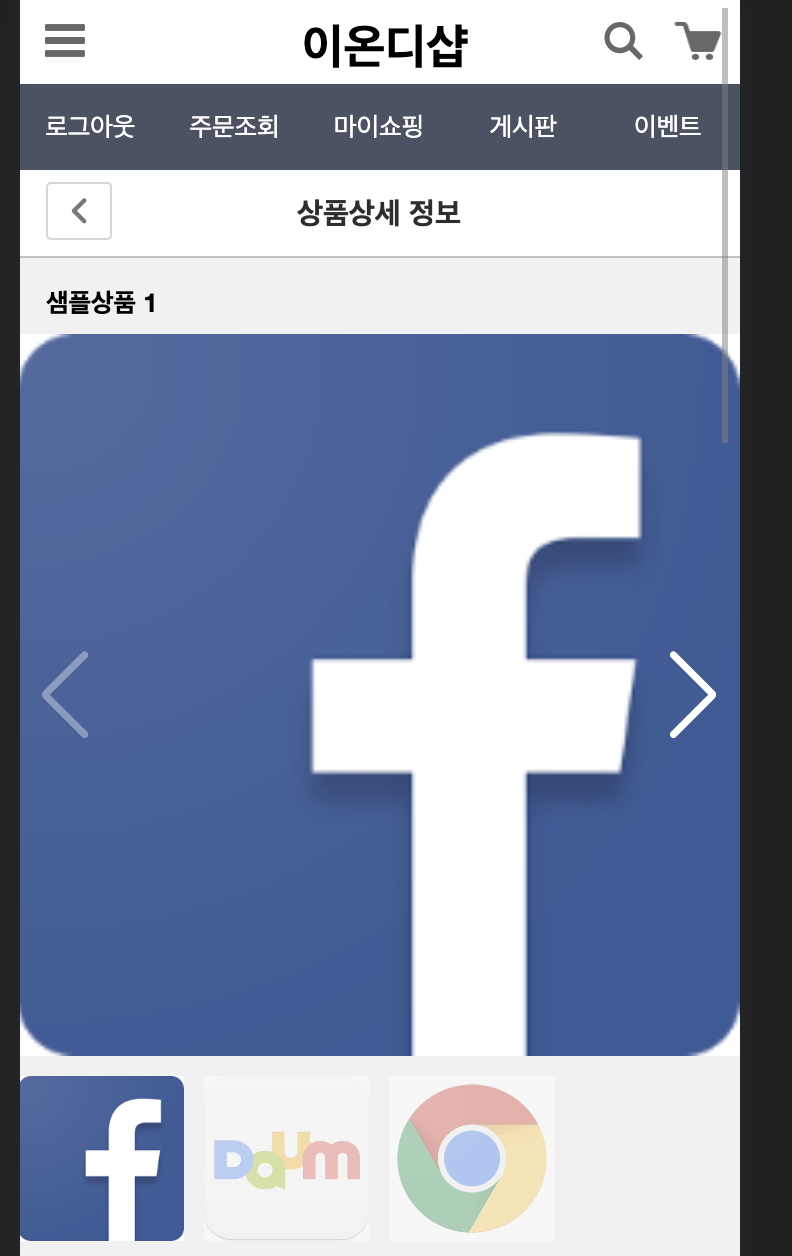
이미지 확대보기를 추가하려면 어디를 수정해야 할까요??
1. 이미지 확대보기의 정의
이미지 확대보기의 경우 몇 가지 방법이 있는 걸로 알고 있습니다.
1) PC에서 보면 이미지 자체에 마우스 커서를 올리면 별도의 레이어에 좀 더 크게 확대된 이미지가 일부 영역으로 잡혀서 보이는 경우도 있고
2) 단순히 이미지 자체에 a태그를 삽입해서 별도의 새 창에 해당 이미지를 띄우는 방법도 있고요.
어떤 이미지 확대보기를 말씀하시는 건지에 대한 설명이 필요해 보입니다.
2. 어디에 그 기능을 넣을 건지
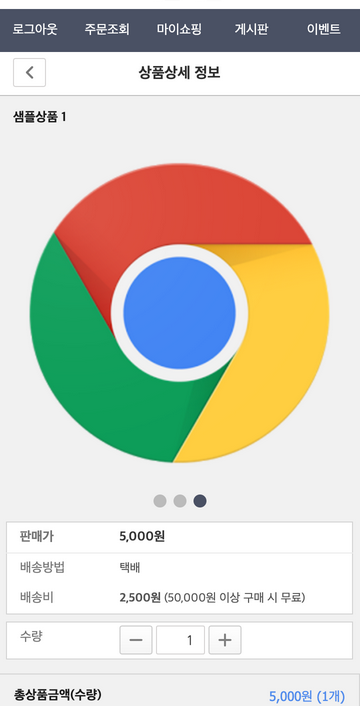
1의 1)의 경우에는 이미지 자체에 해당 기능을 넣는 건데, 여기서 썸네일 크게보기가 있고 아래 썸네일 작게 보기 영역이 있는데요..
1의 2)의 경우에도 큰이미지를 클릭했을 때인지, 아니면 작은이미지를 클릭했을 때인지.
질문 자체를 조금 더 자세히, 그리고 기존에 사용된 코드 예시와 함께 질문 주시면 답변드릴 수 있을 듯 합니다.